Your Cart is Empty


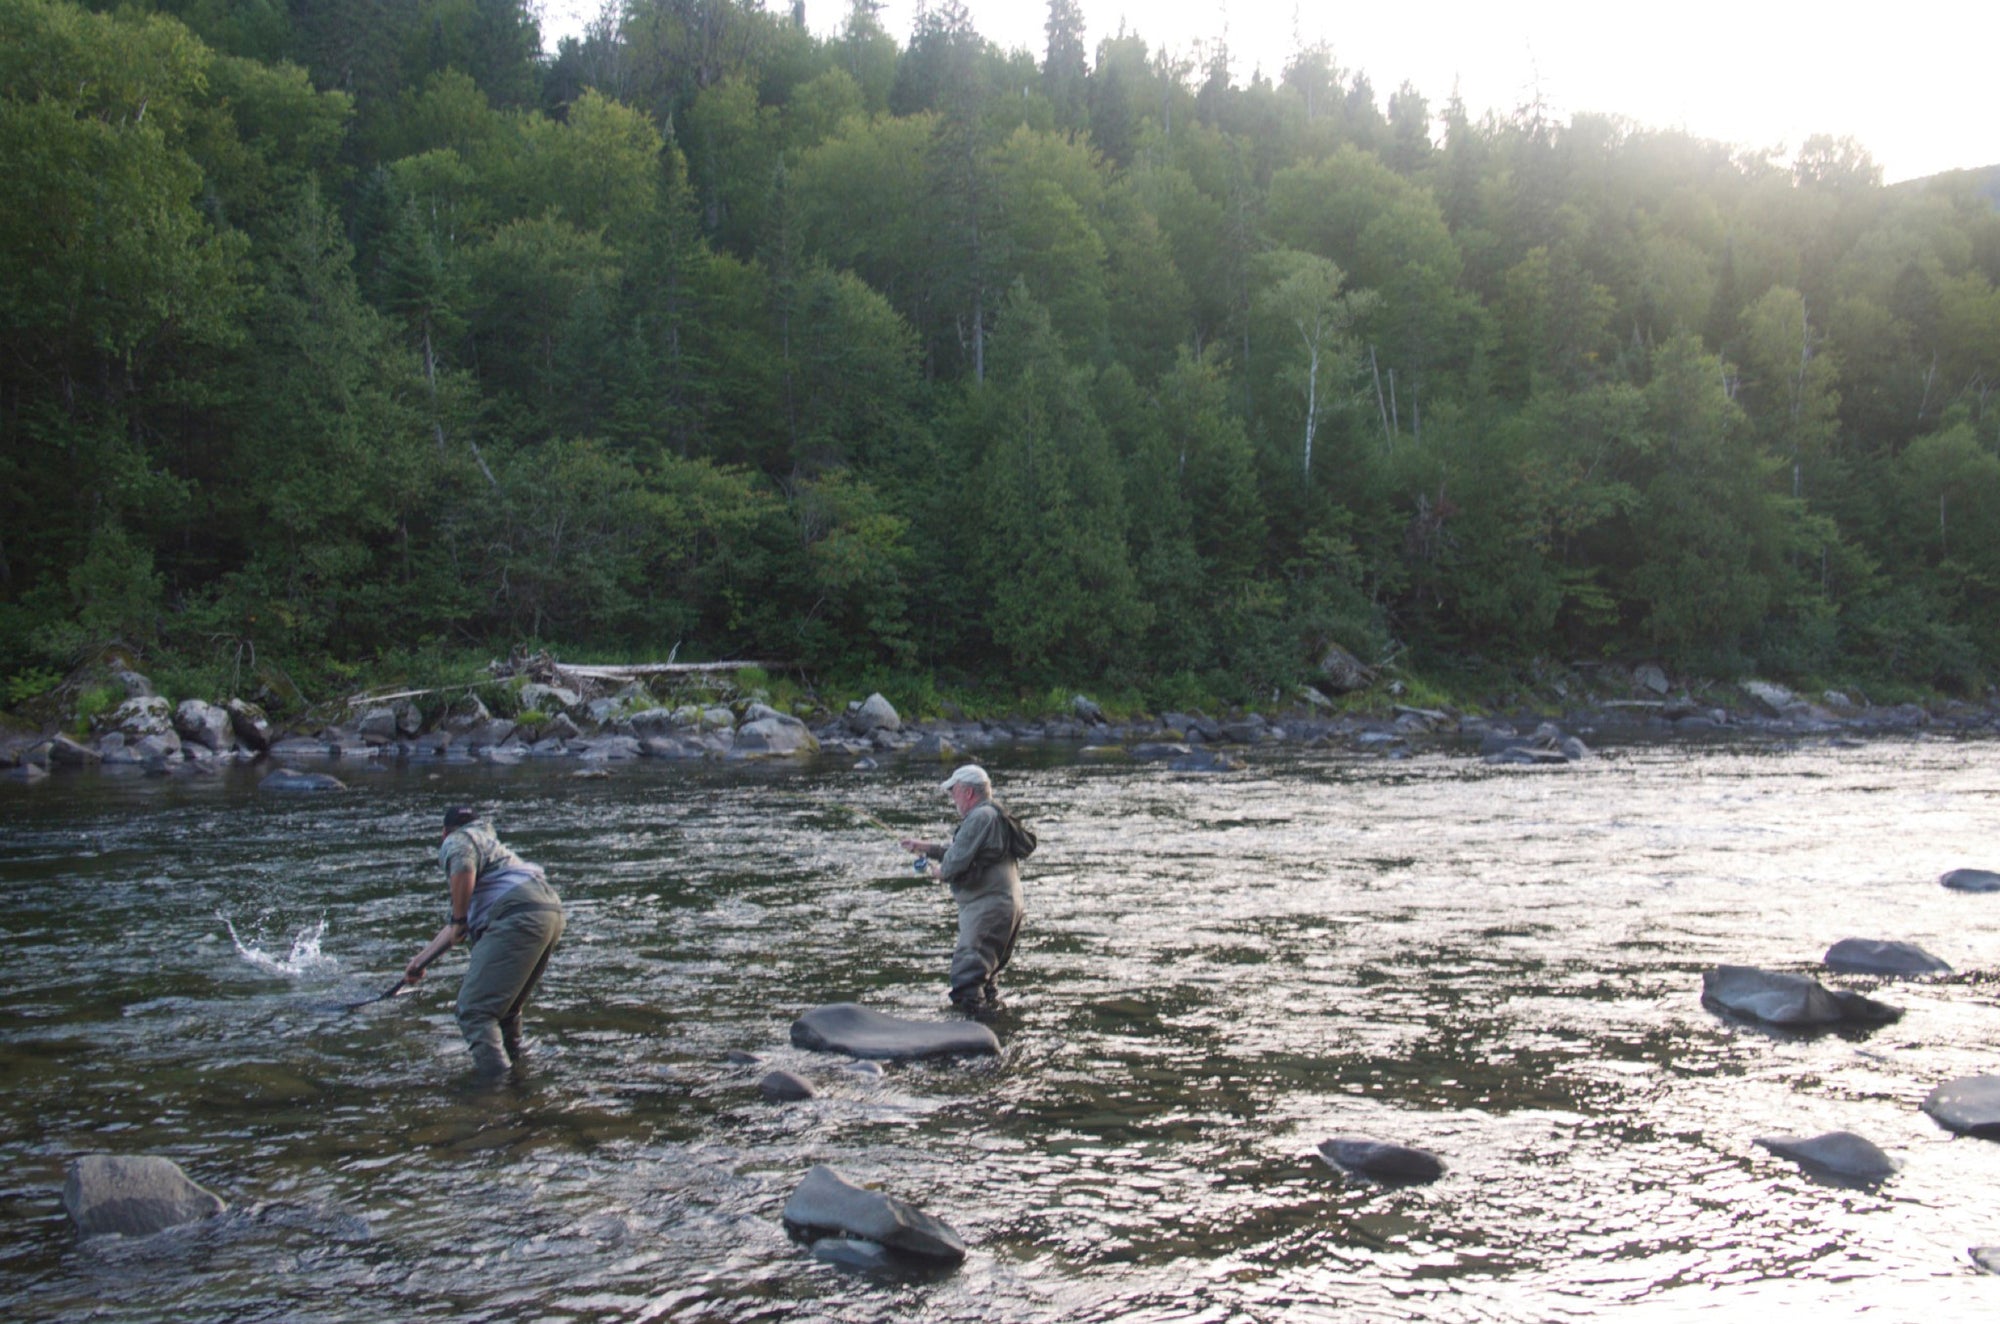
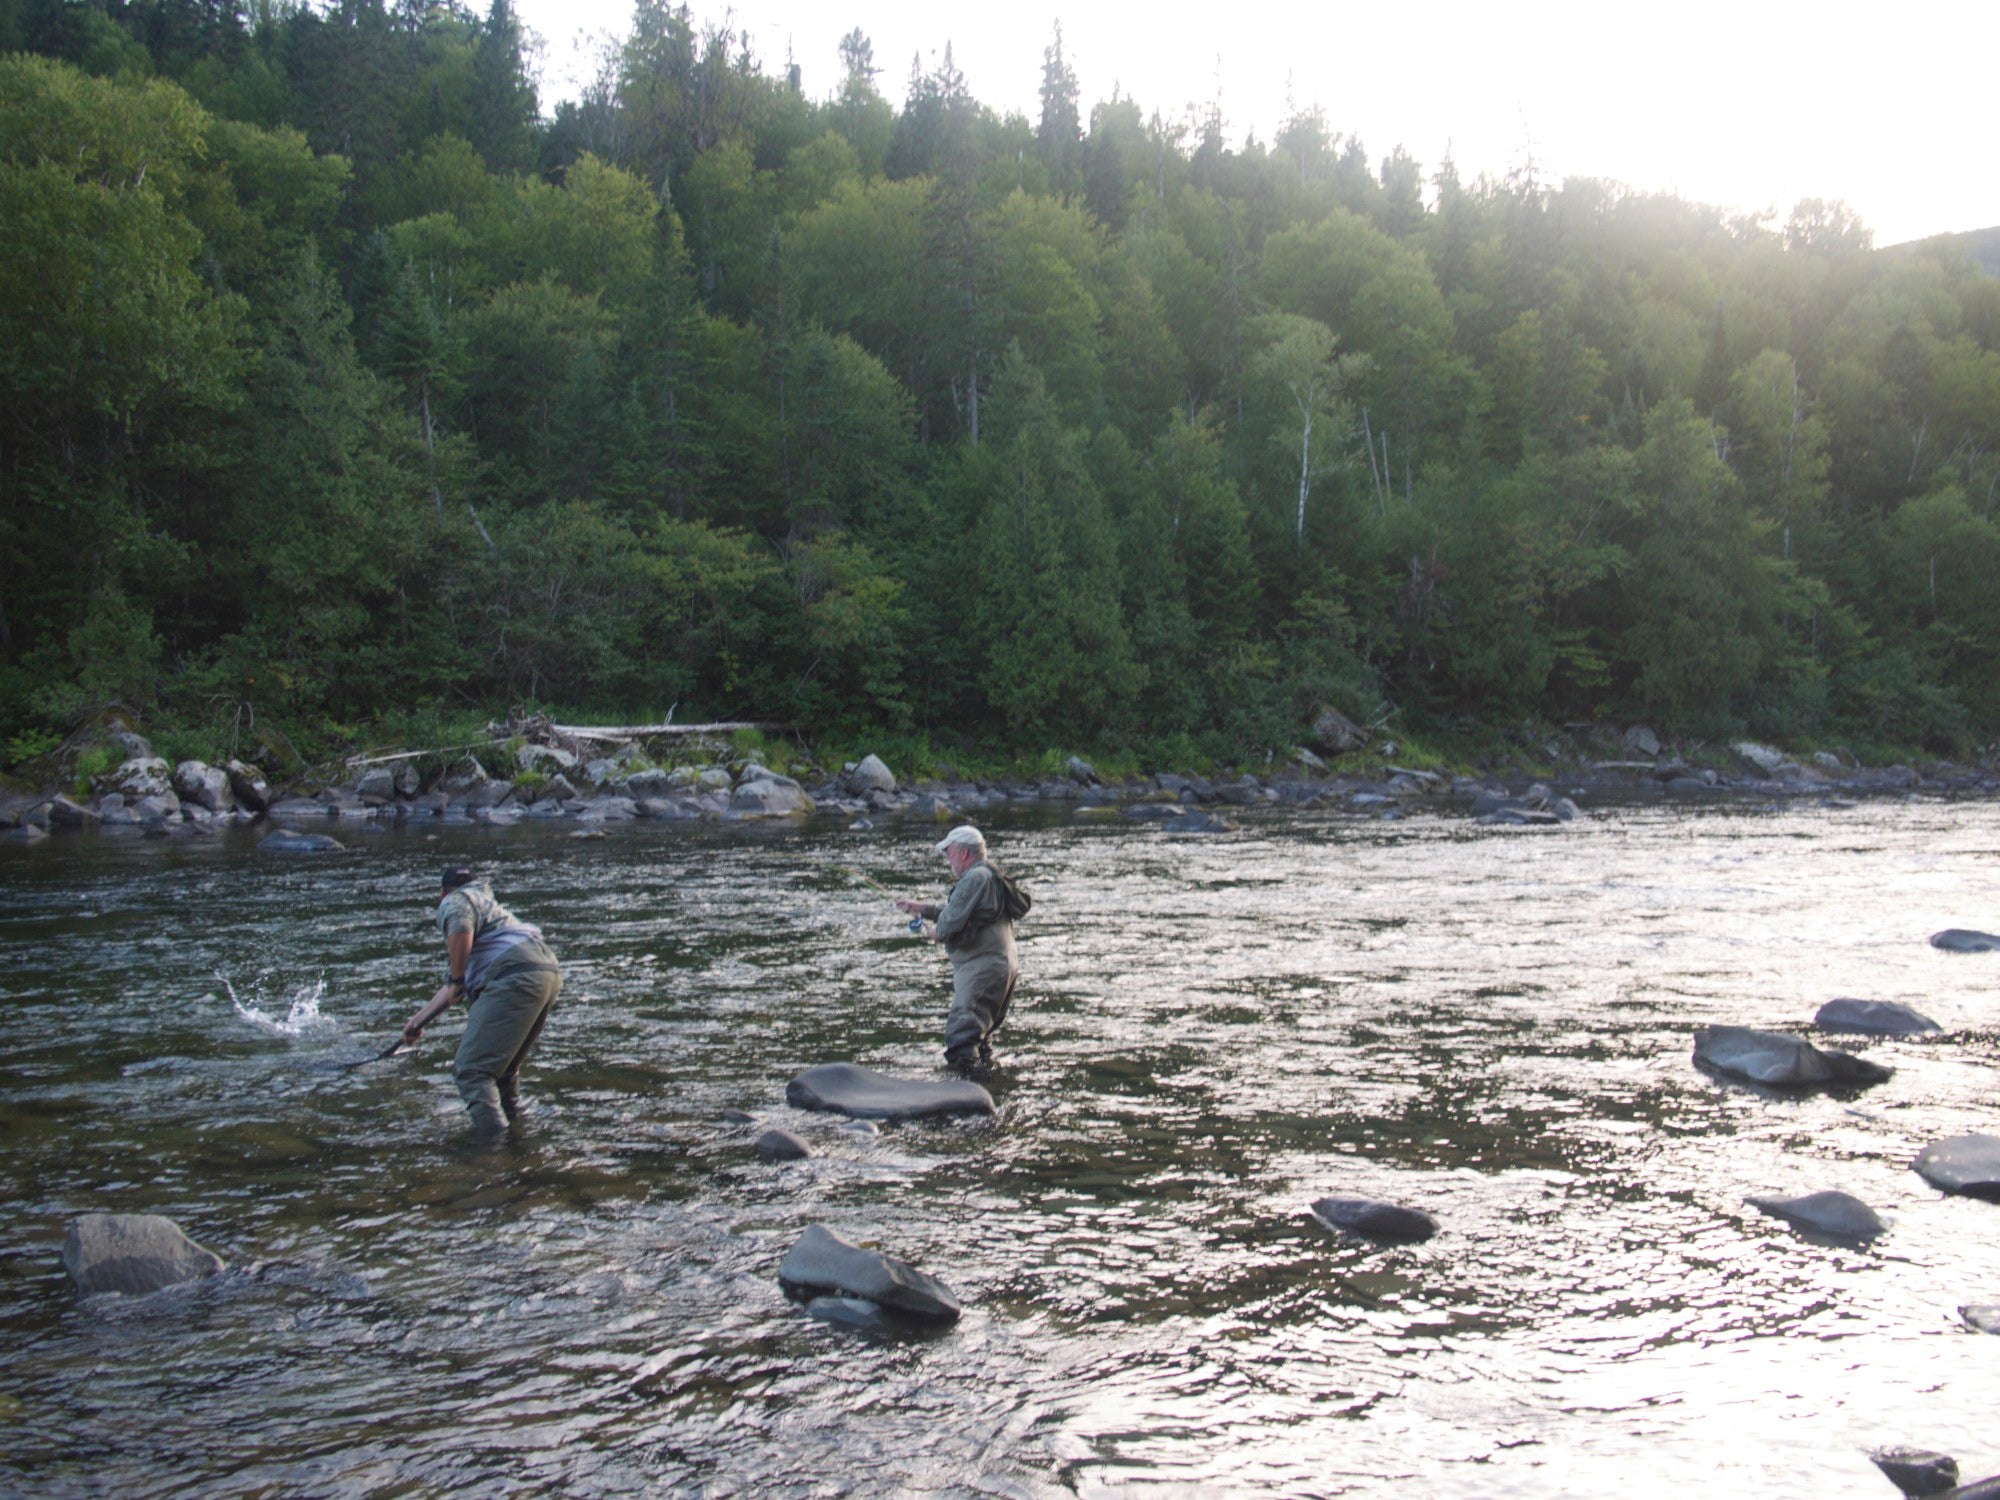
Anyone who regularly fishes one-handed salmon rods and who hooks into a big fish knows how nice it is to be able to attach a fighting butt to the bottom of their rod. On a recent trip to the Gaspe I was lucky enough to hook into a couple of pretty sizable ones myself and it was a huge help.
You can see the fighting butt extension in the center of the photo below, as the guide is releasing my fish.
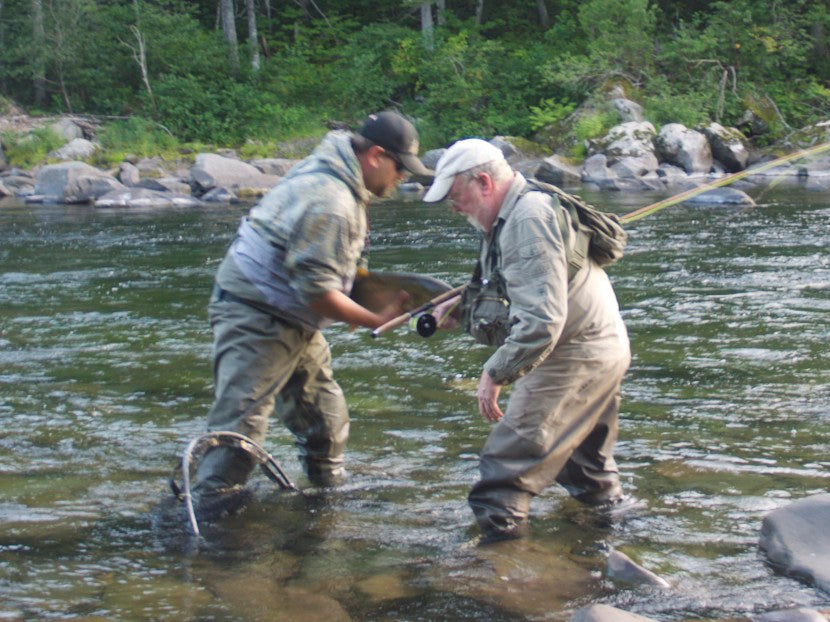
It’s a good design which solves a clear problem – fighting a large fish for 20+ minutes can be tough so the additional leverage helps, but you don’t necessarily want to to cast a rod all day with the extension sticking out of the bottom when you don’t need it. Making it easy to attach and detach is a good solution.
As for the rodmaker though, fighting butts pose a different problem. How do you make room for them in the rod tube when you are traveling?
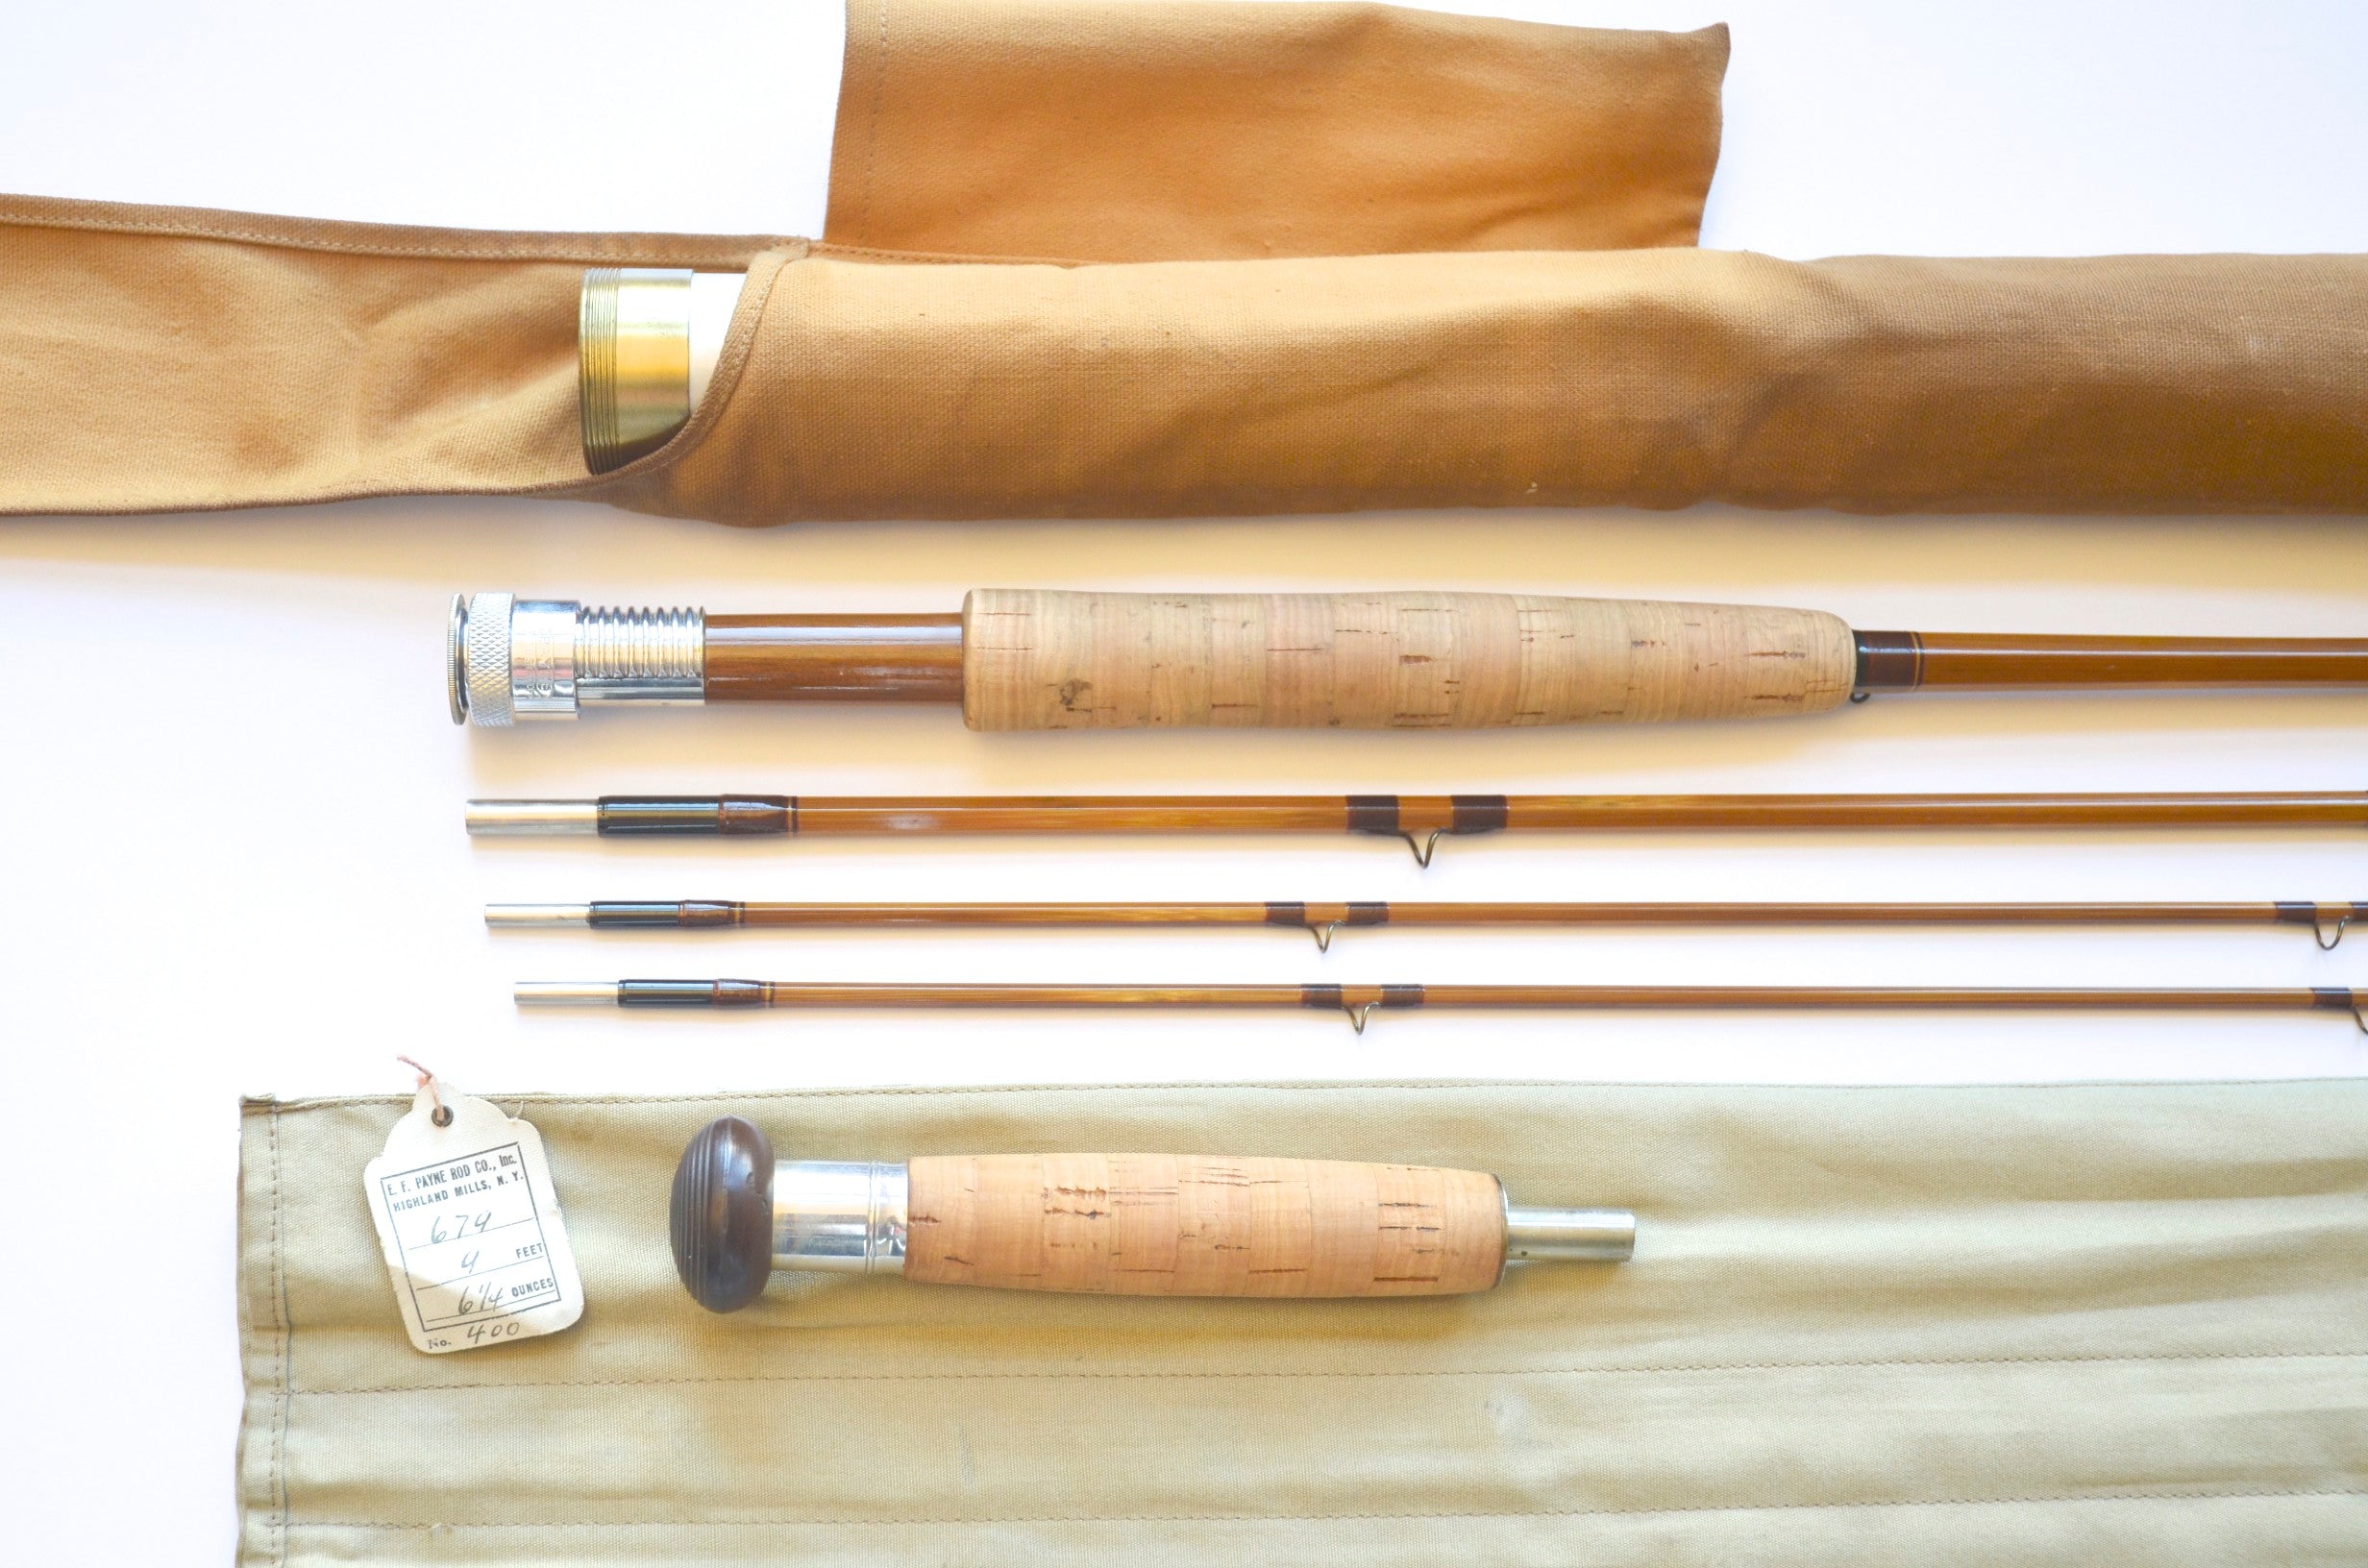
One solution was to make a special pocket on the outer rod bag, which is what Payne used to do. You can see here in this photo that flap of fabric at the top of the picture, which is where you would put the fighting butt. This was a pretty good solution but in my experience there was still a risk of the thing slipping out and disappearing on you while you were in transit. It was also a little clunkier sitting outside of the actual tube.
Another solution that I’ve done a few times is to put an additional pocket area on the bottom end of the interior rod bag. Basically this meant that you would slide the thing into the rod tube first when you were putting everything away. It wasn’t a terrible solution but still a bit more unwieldy than I’d really like.
So this brings me to the side-project I’ve been tinkering with for the past few weeks, which was to figure out how to build a separate section into the tube itself so as to house the fighting butt in a safe but convenient manner.
Here’s what I did:
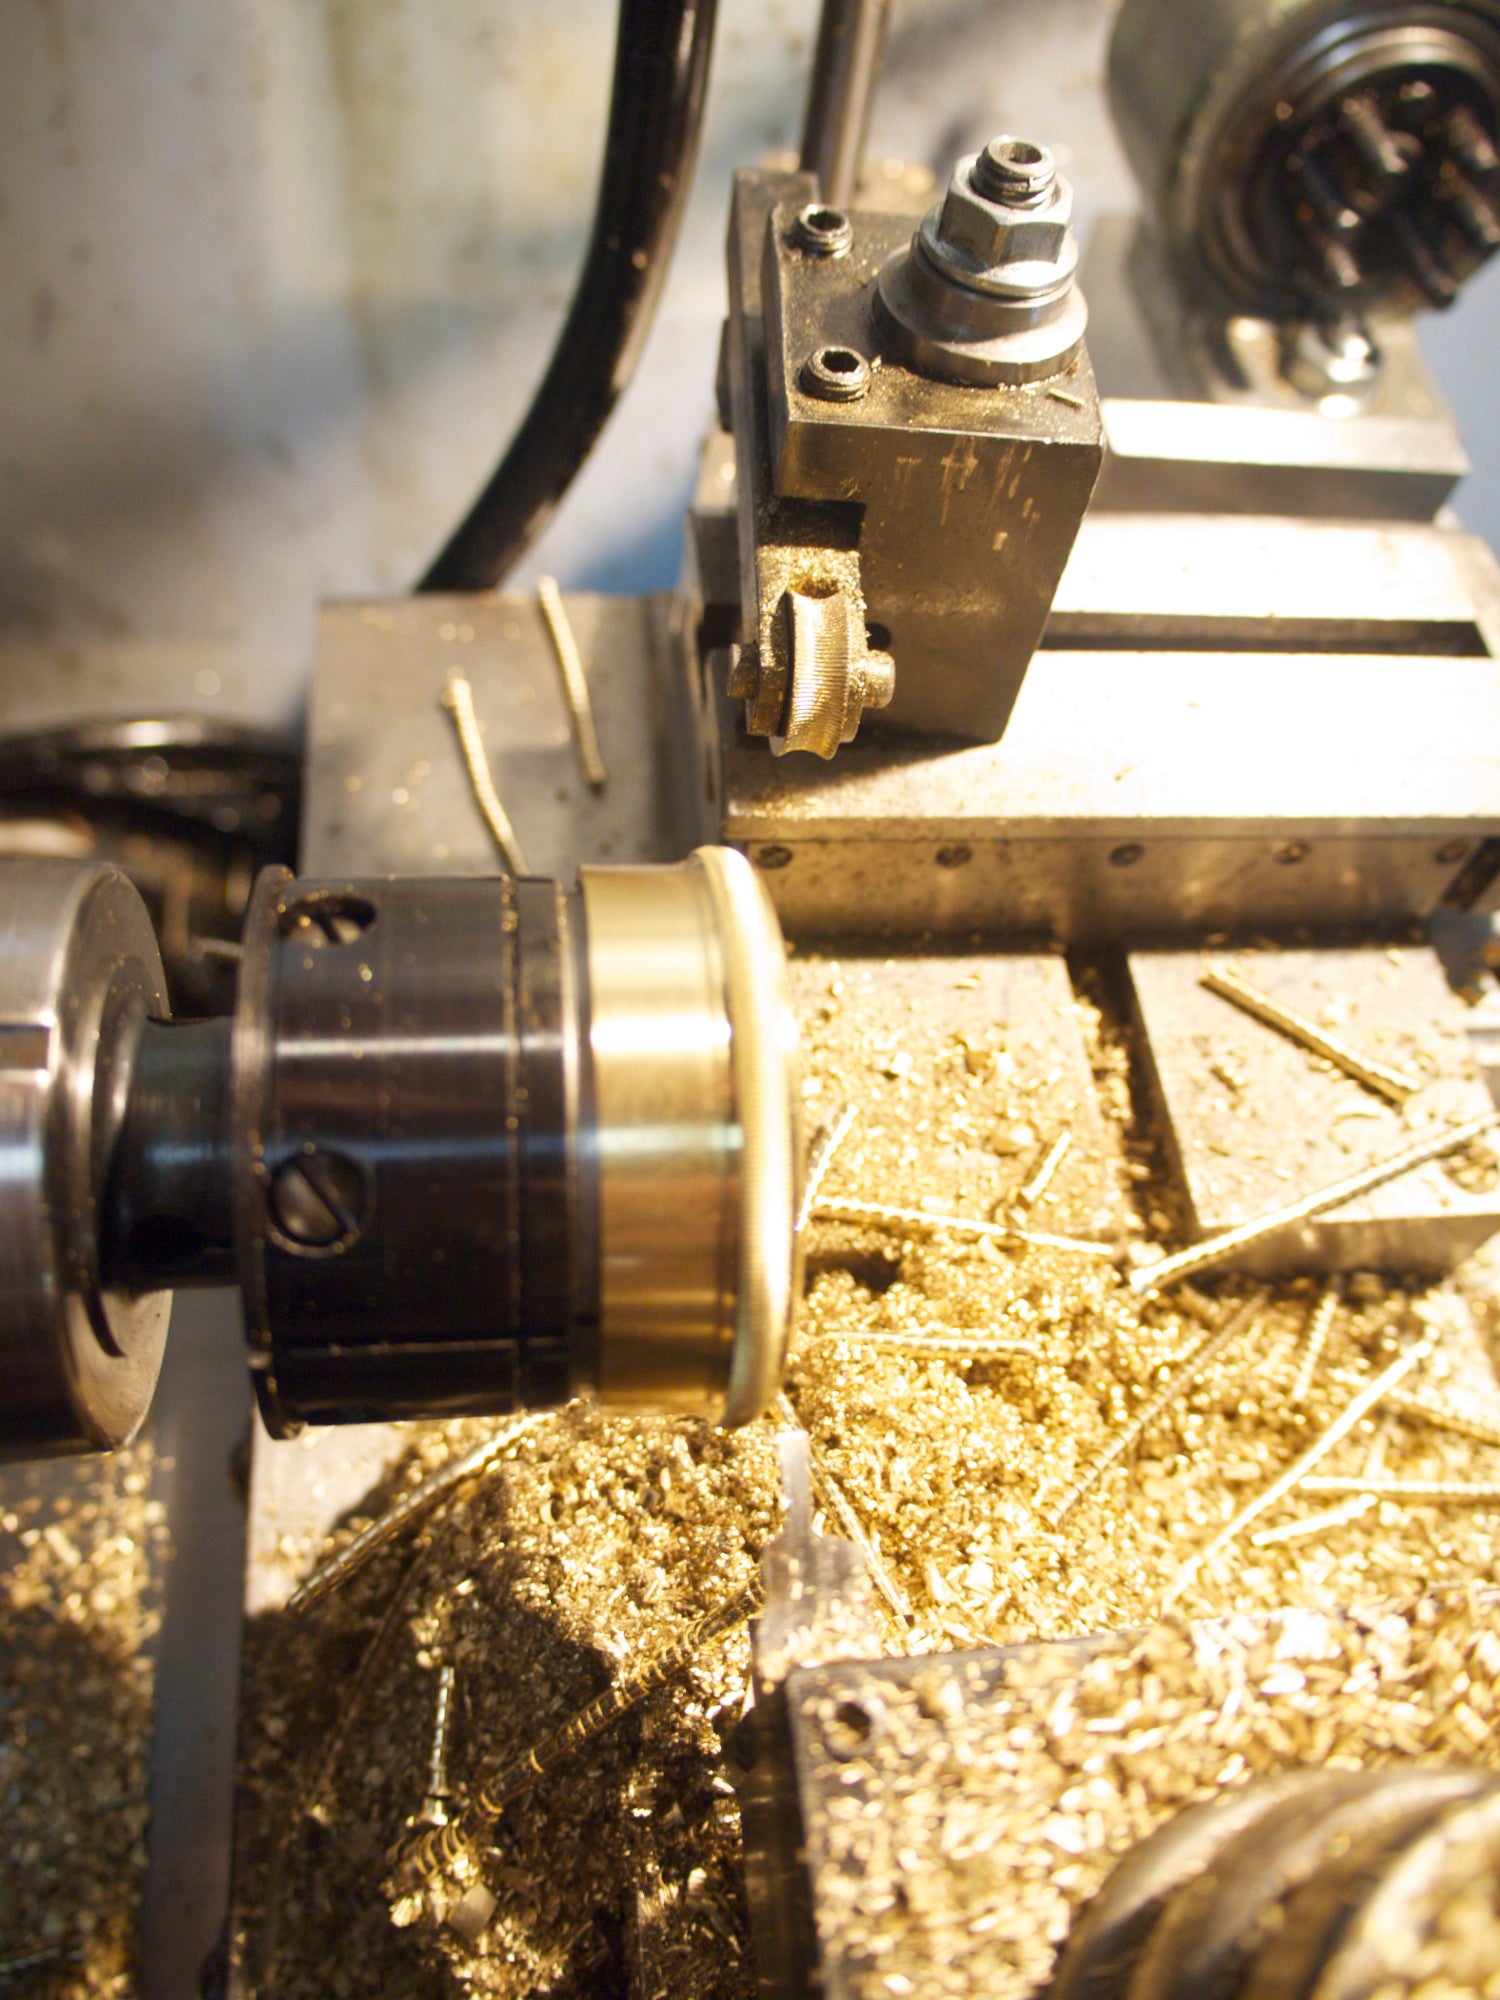
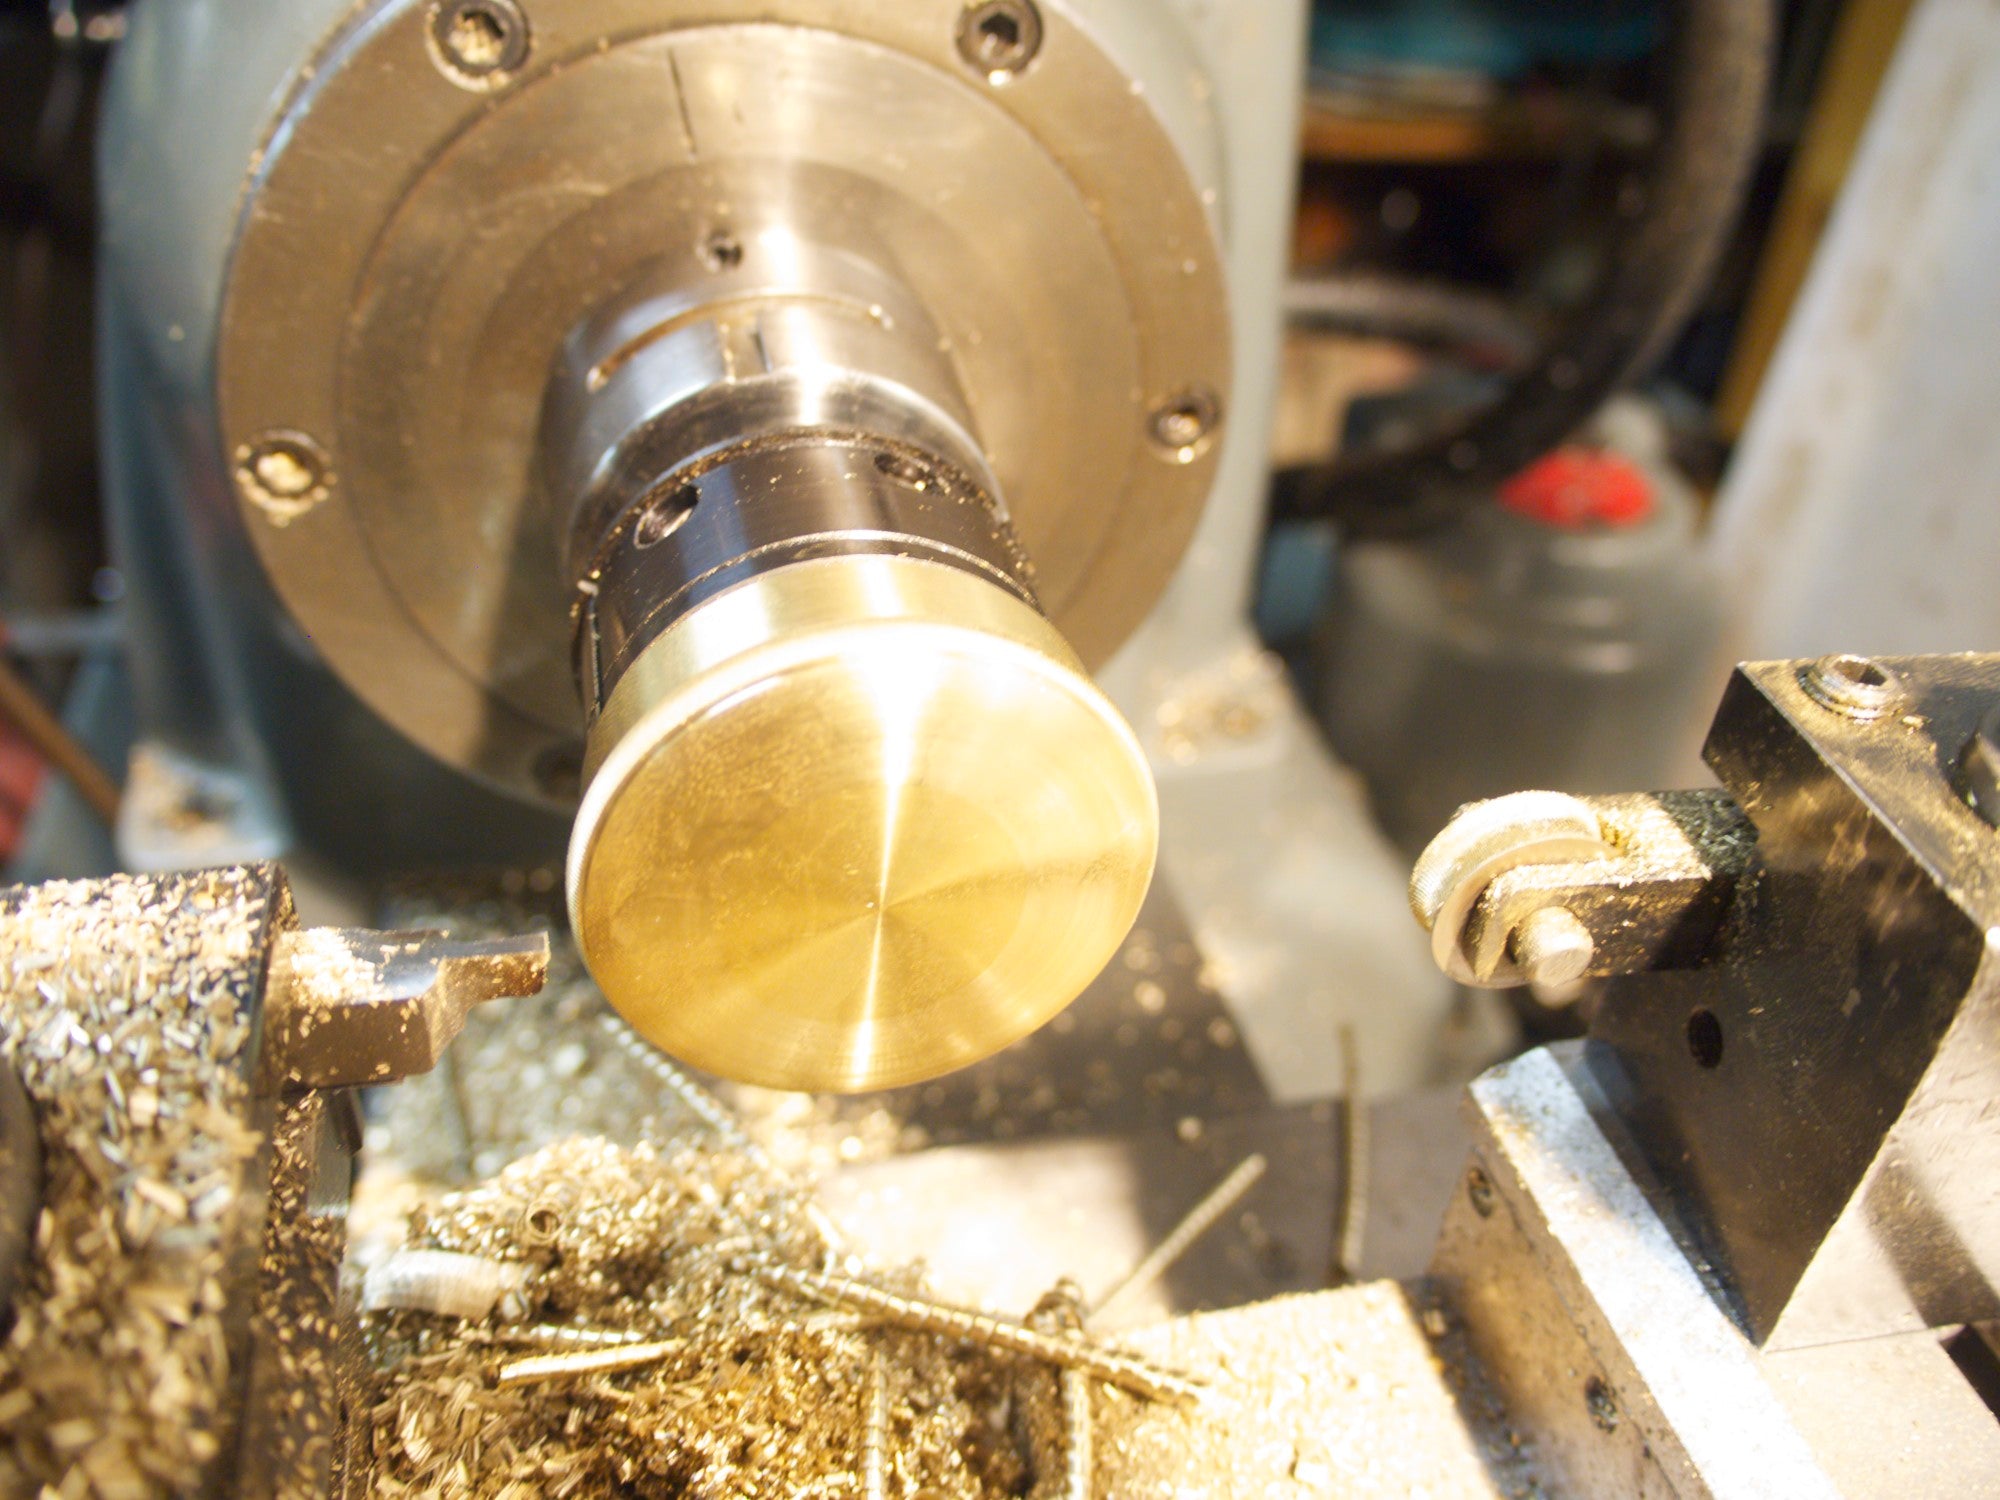
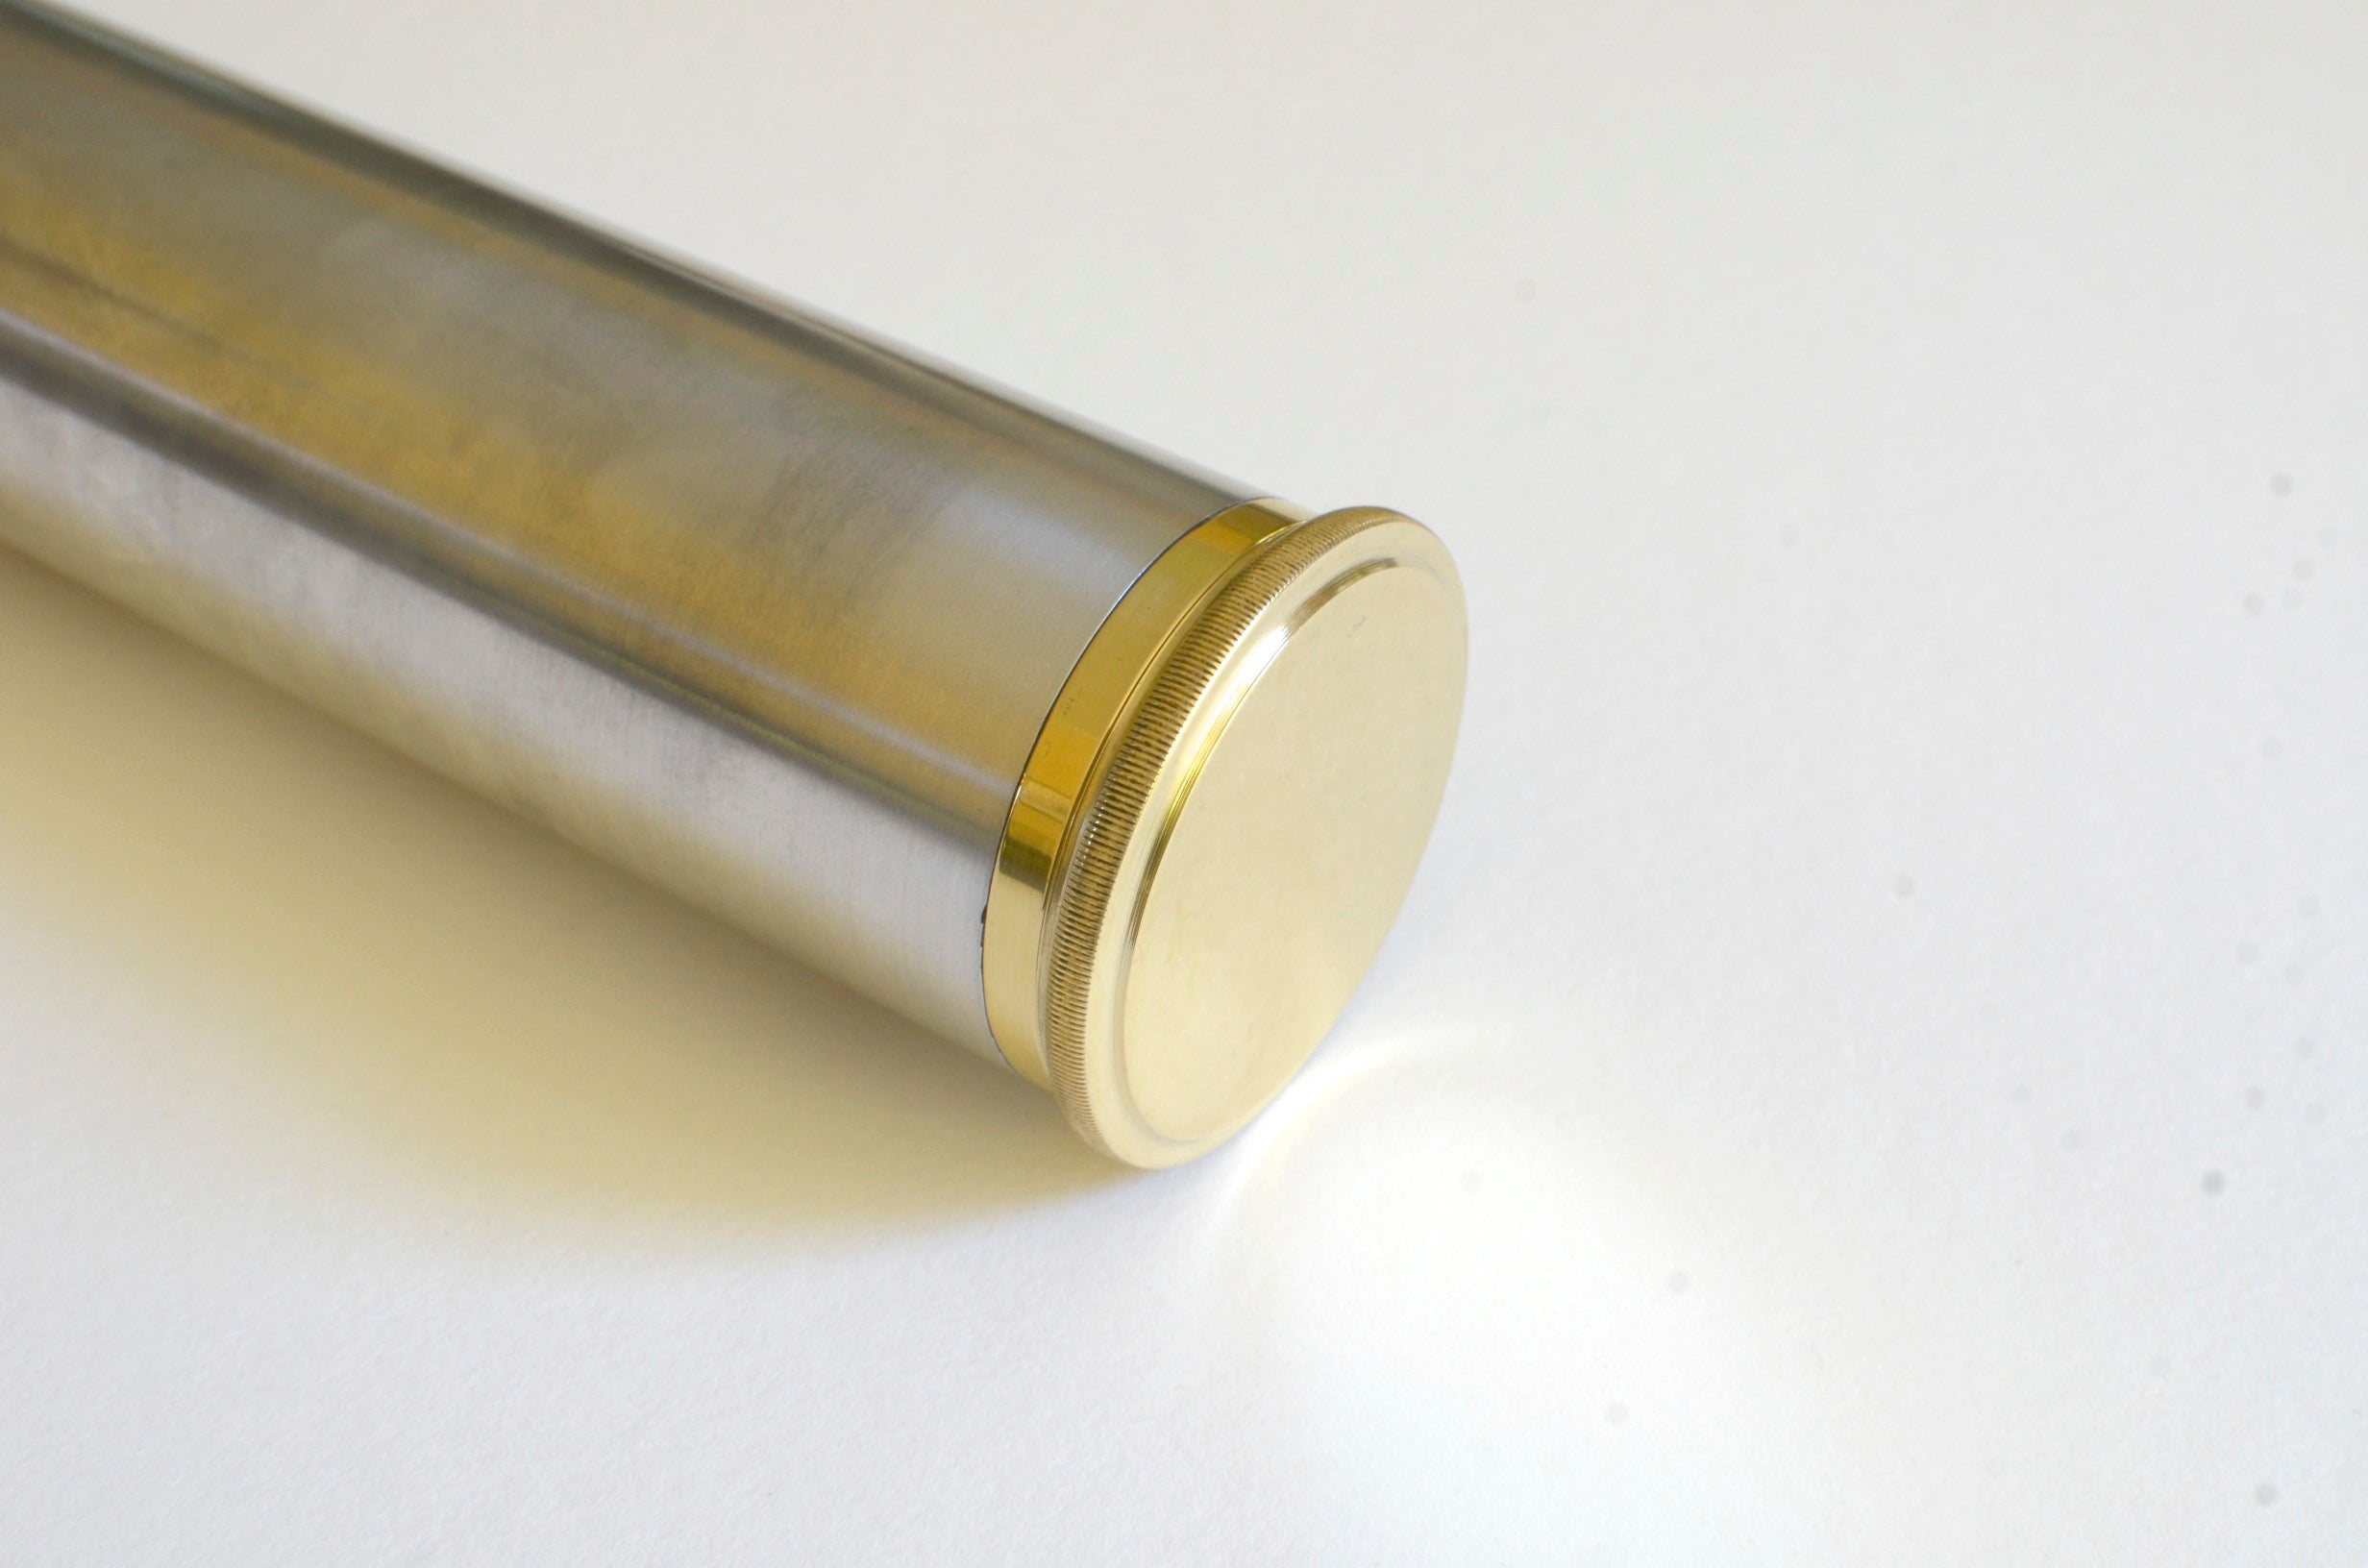
First, I turned some hardware for the bottom end of the tube:
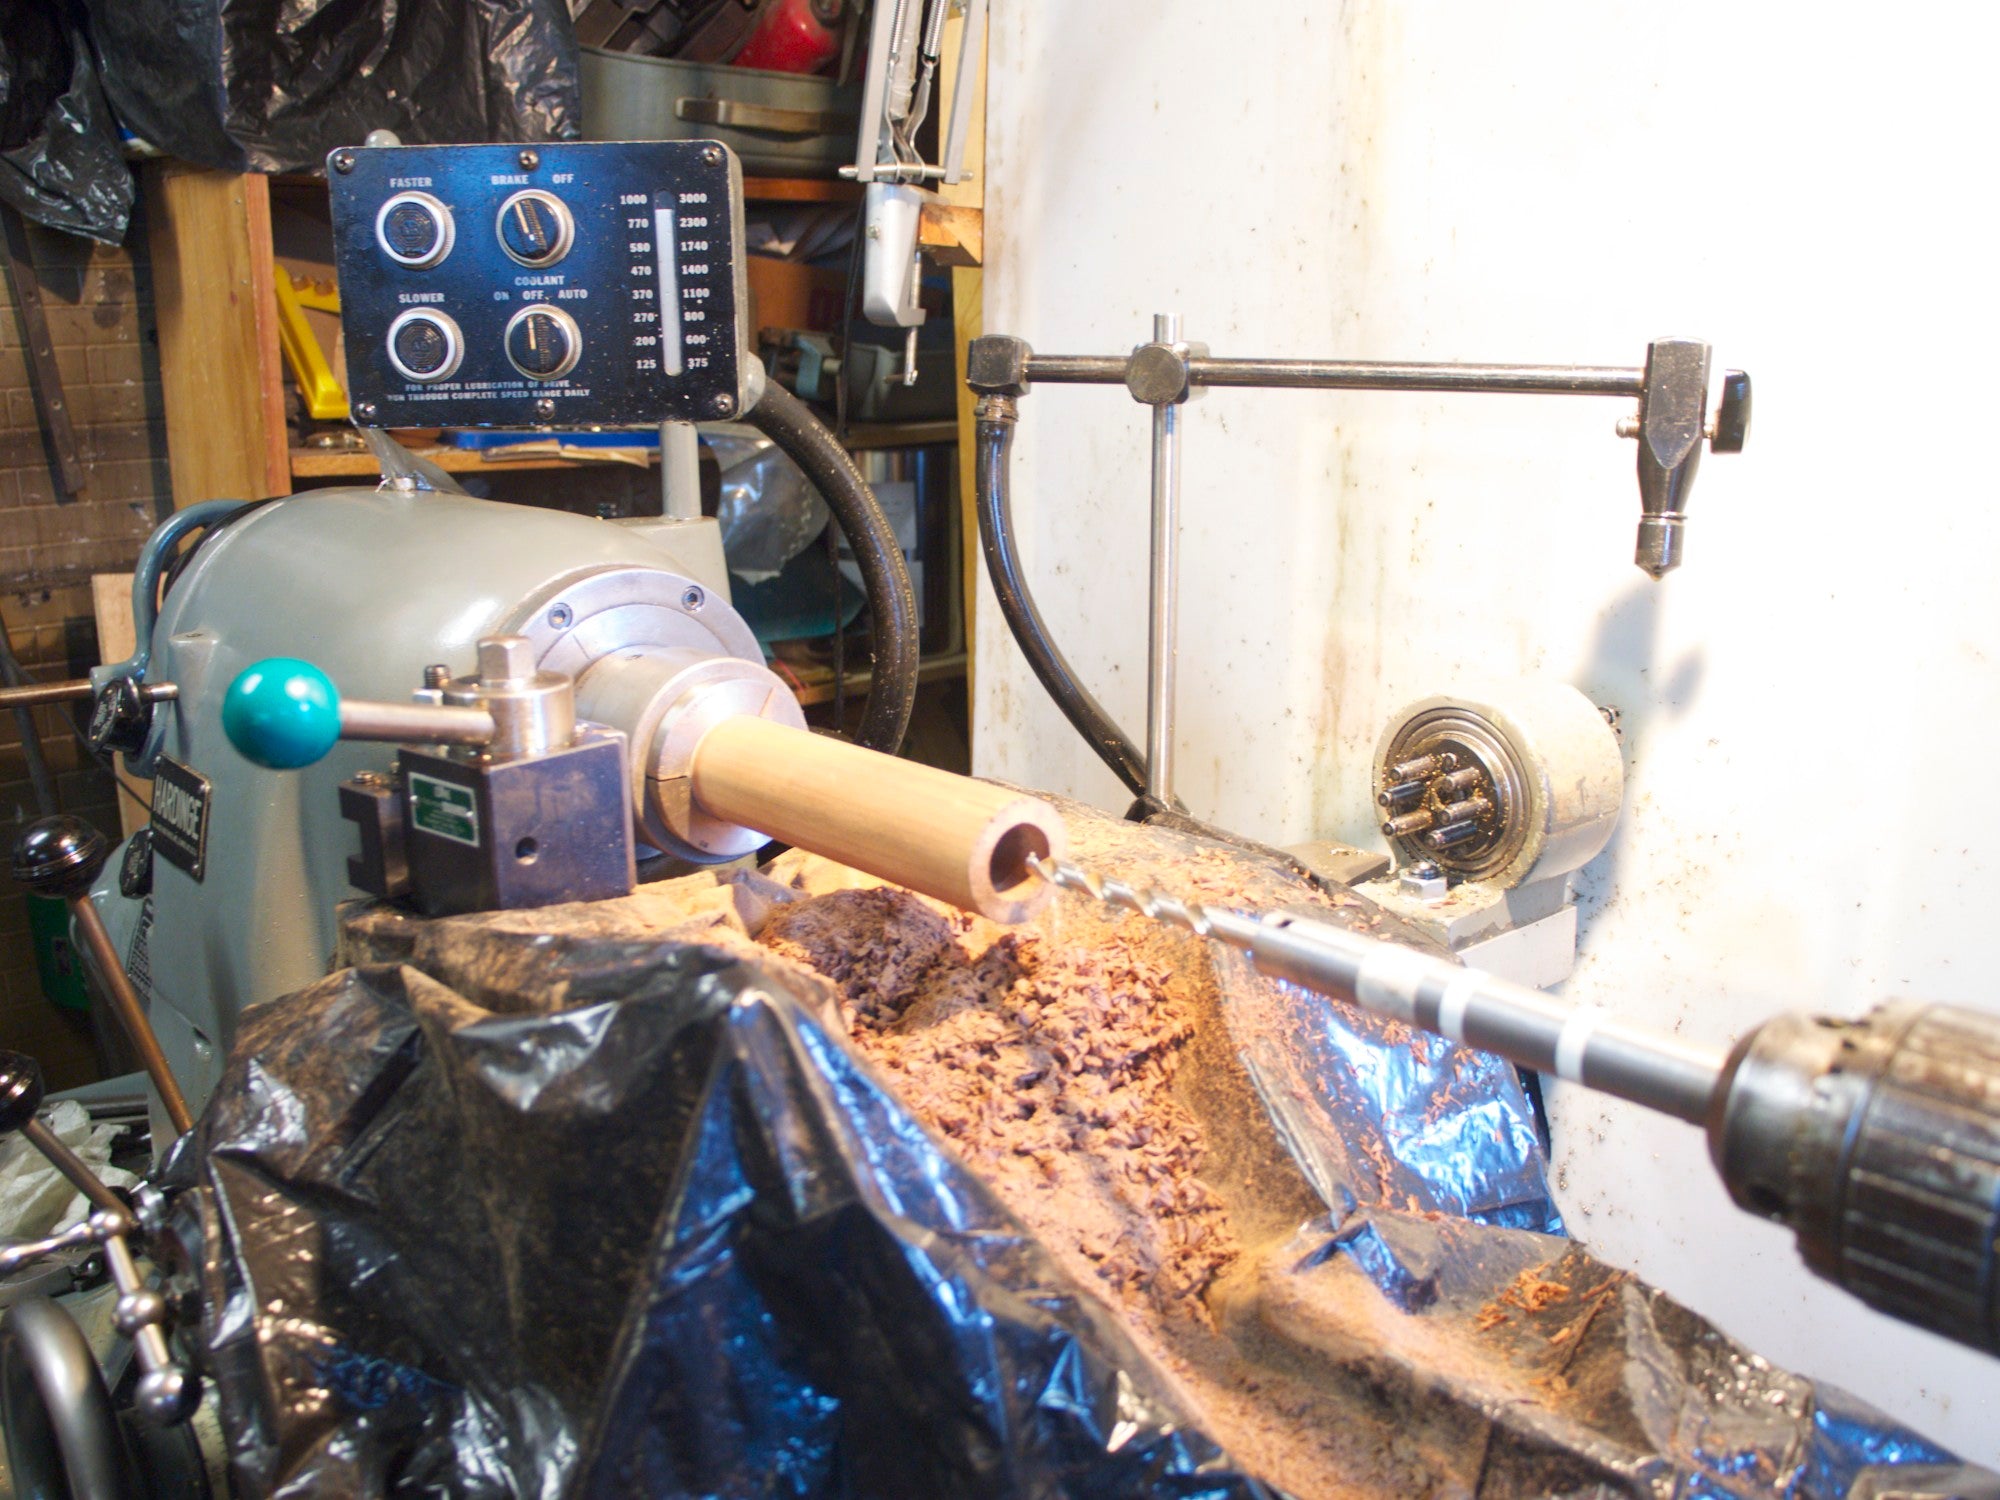
Next I found a nice piece of cedar and drilled it out:
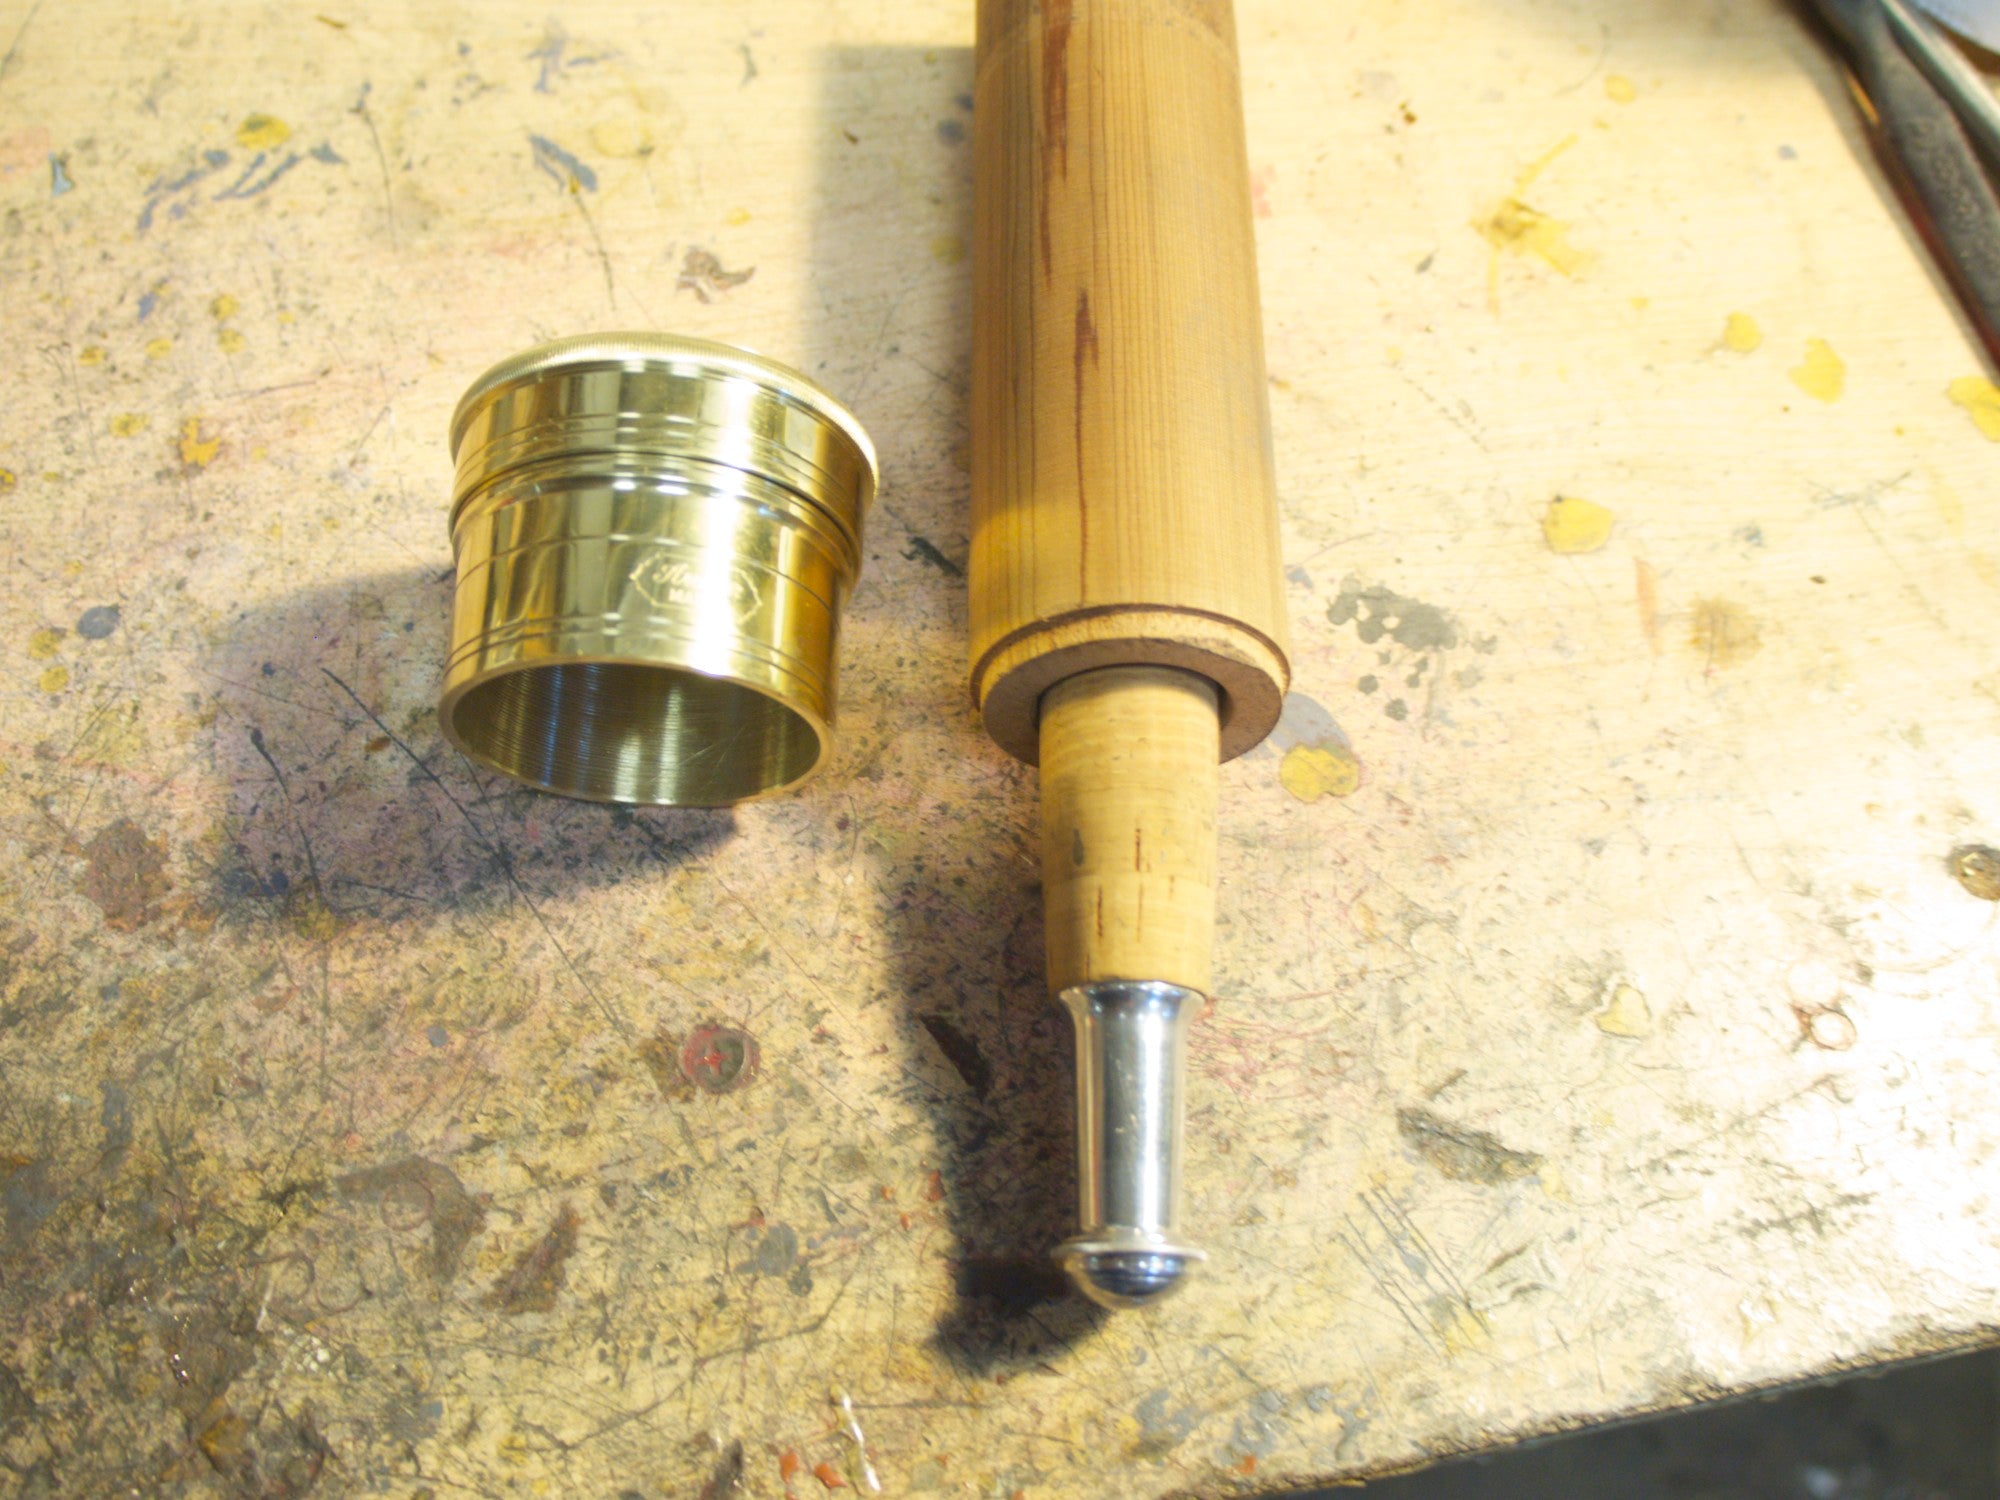
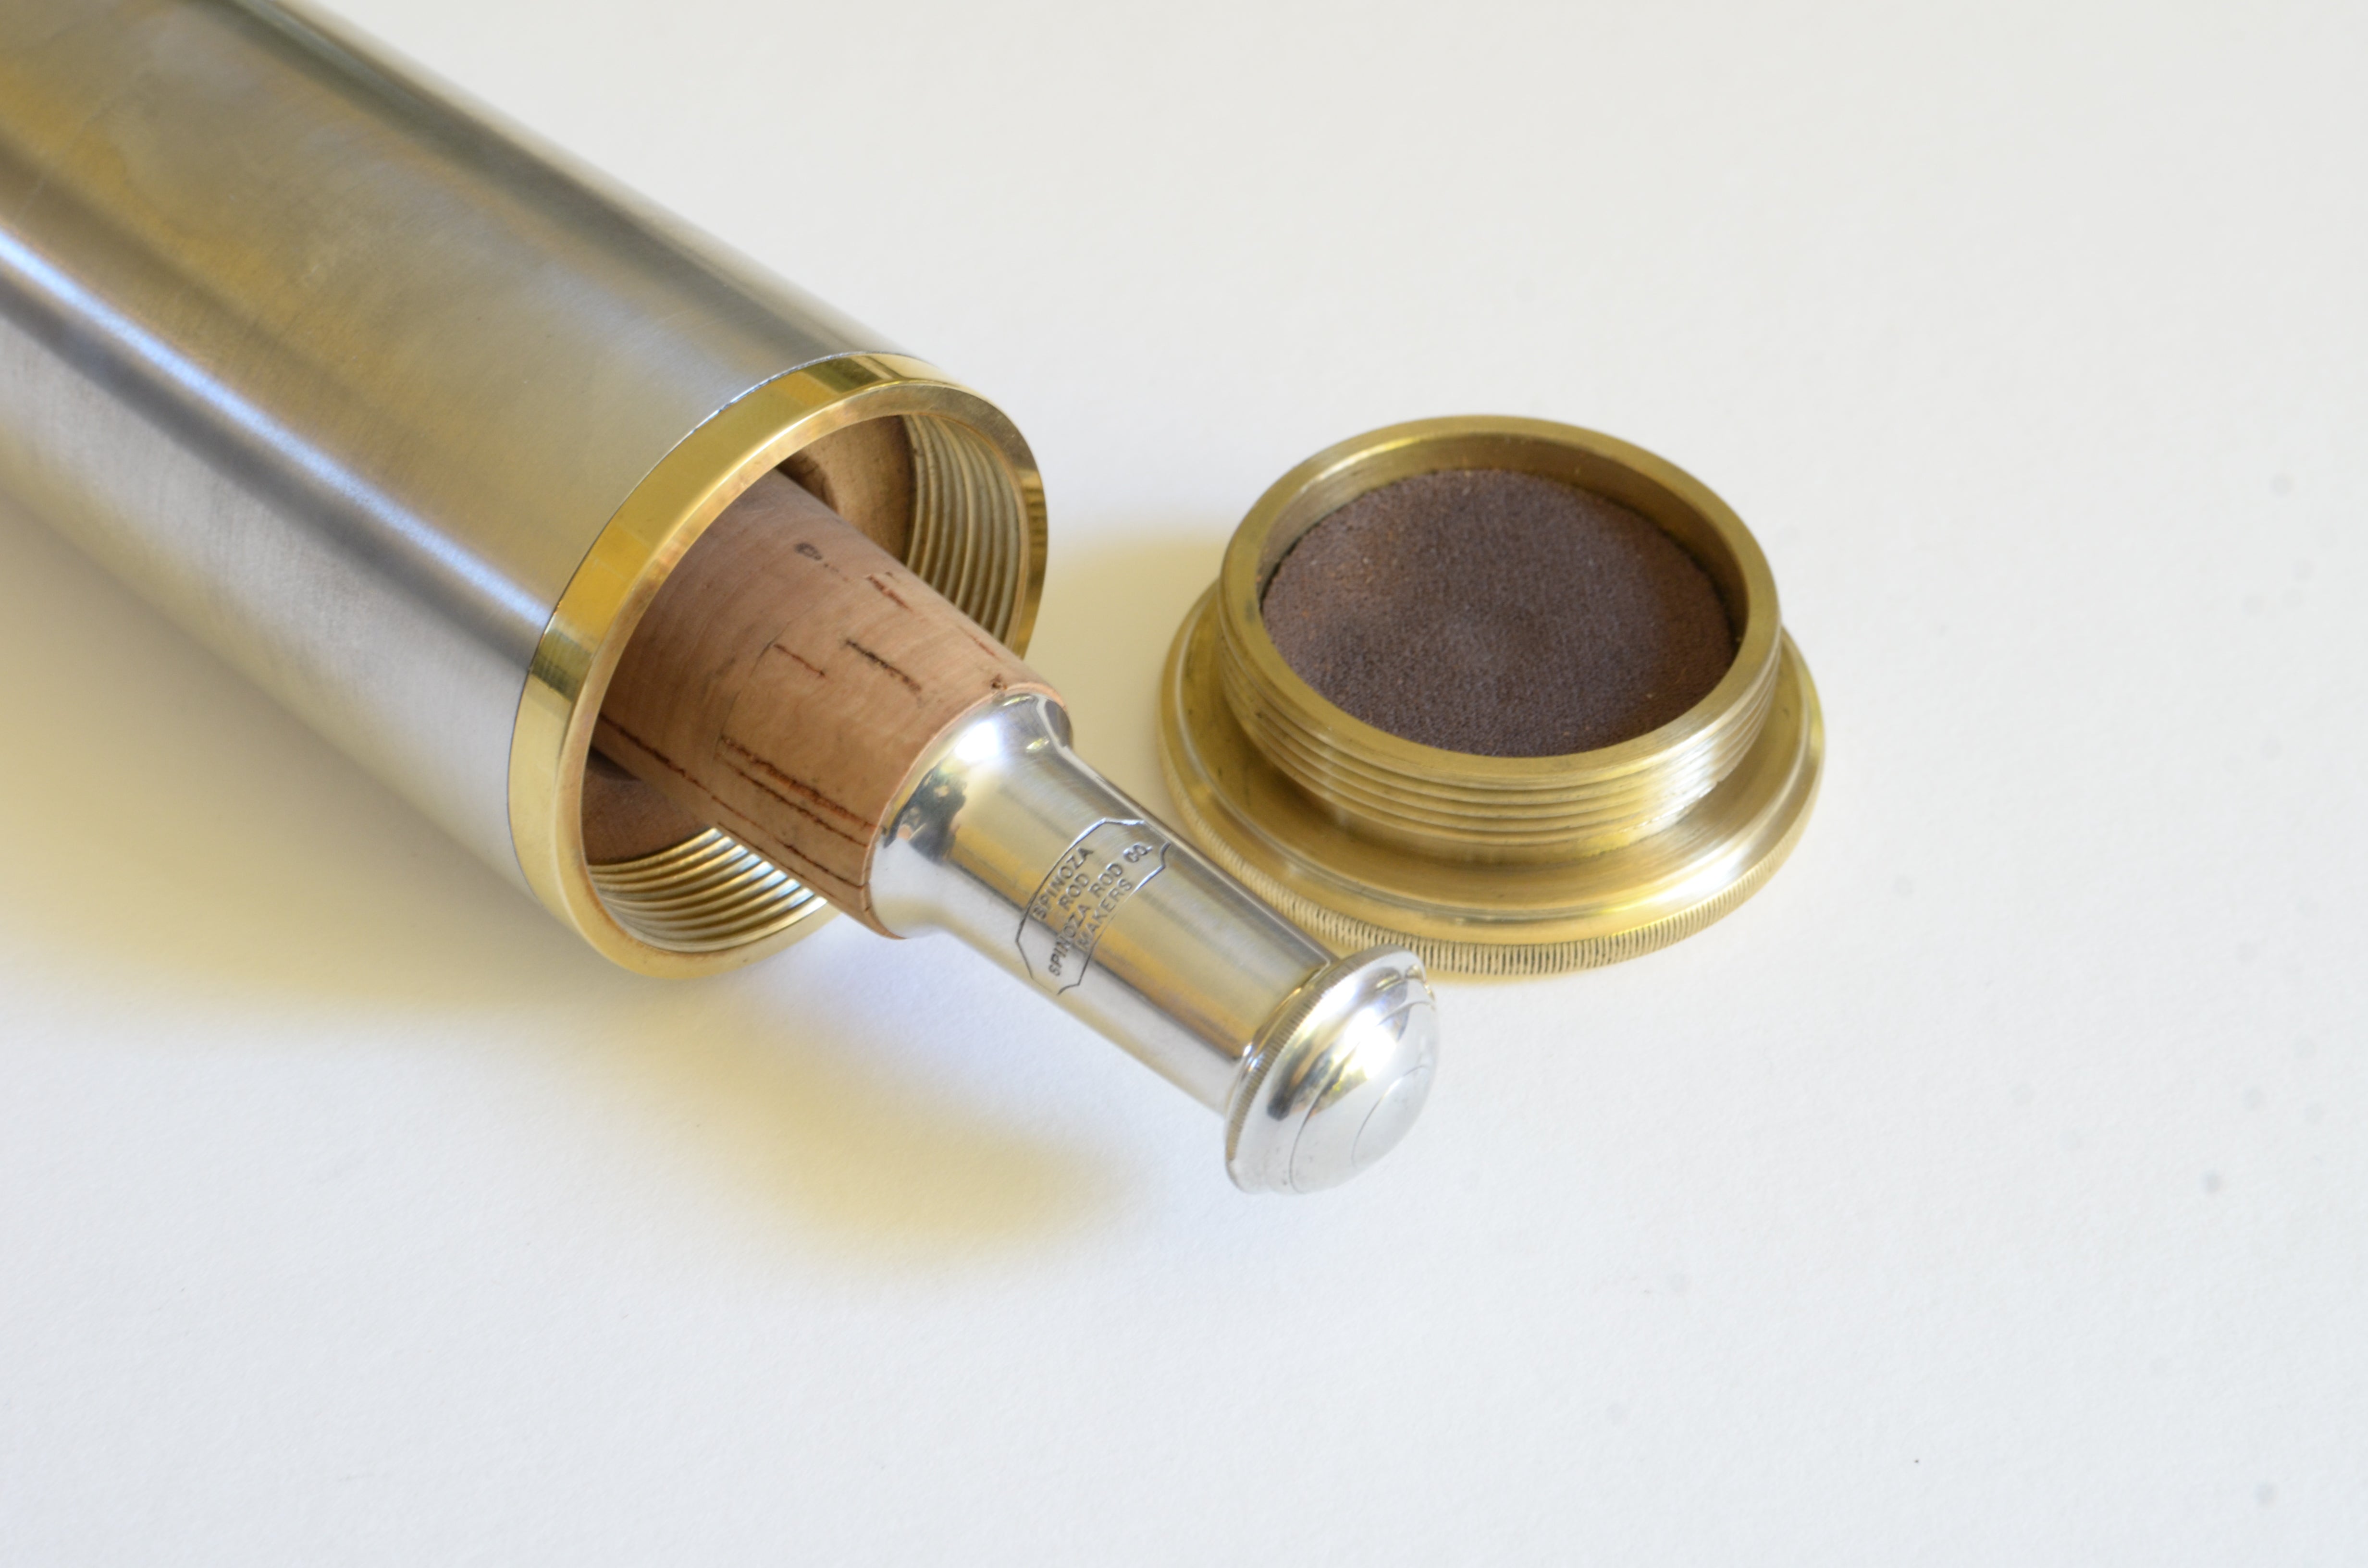
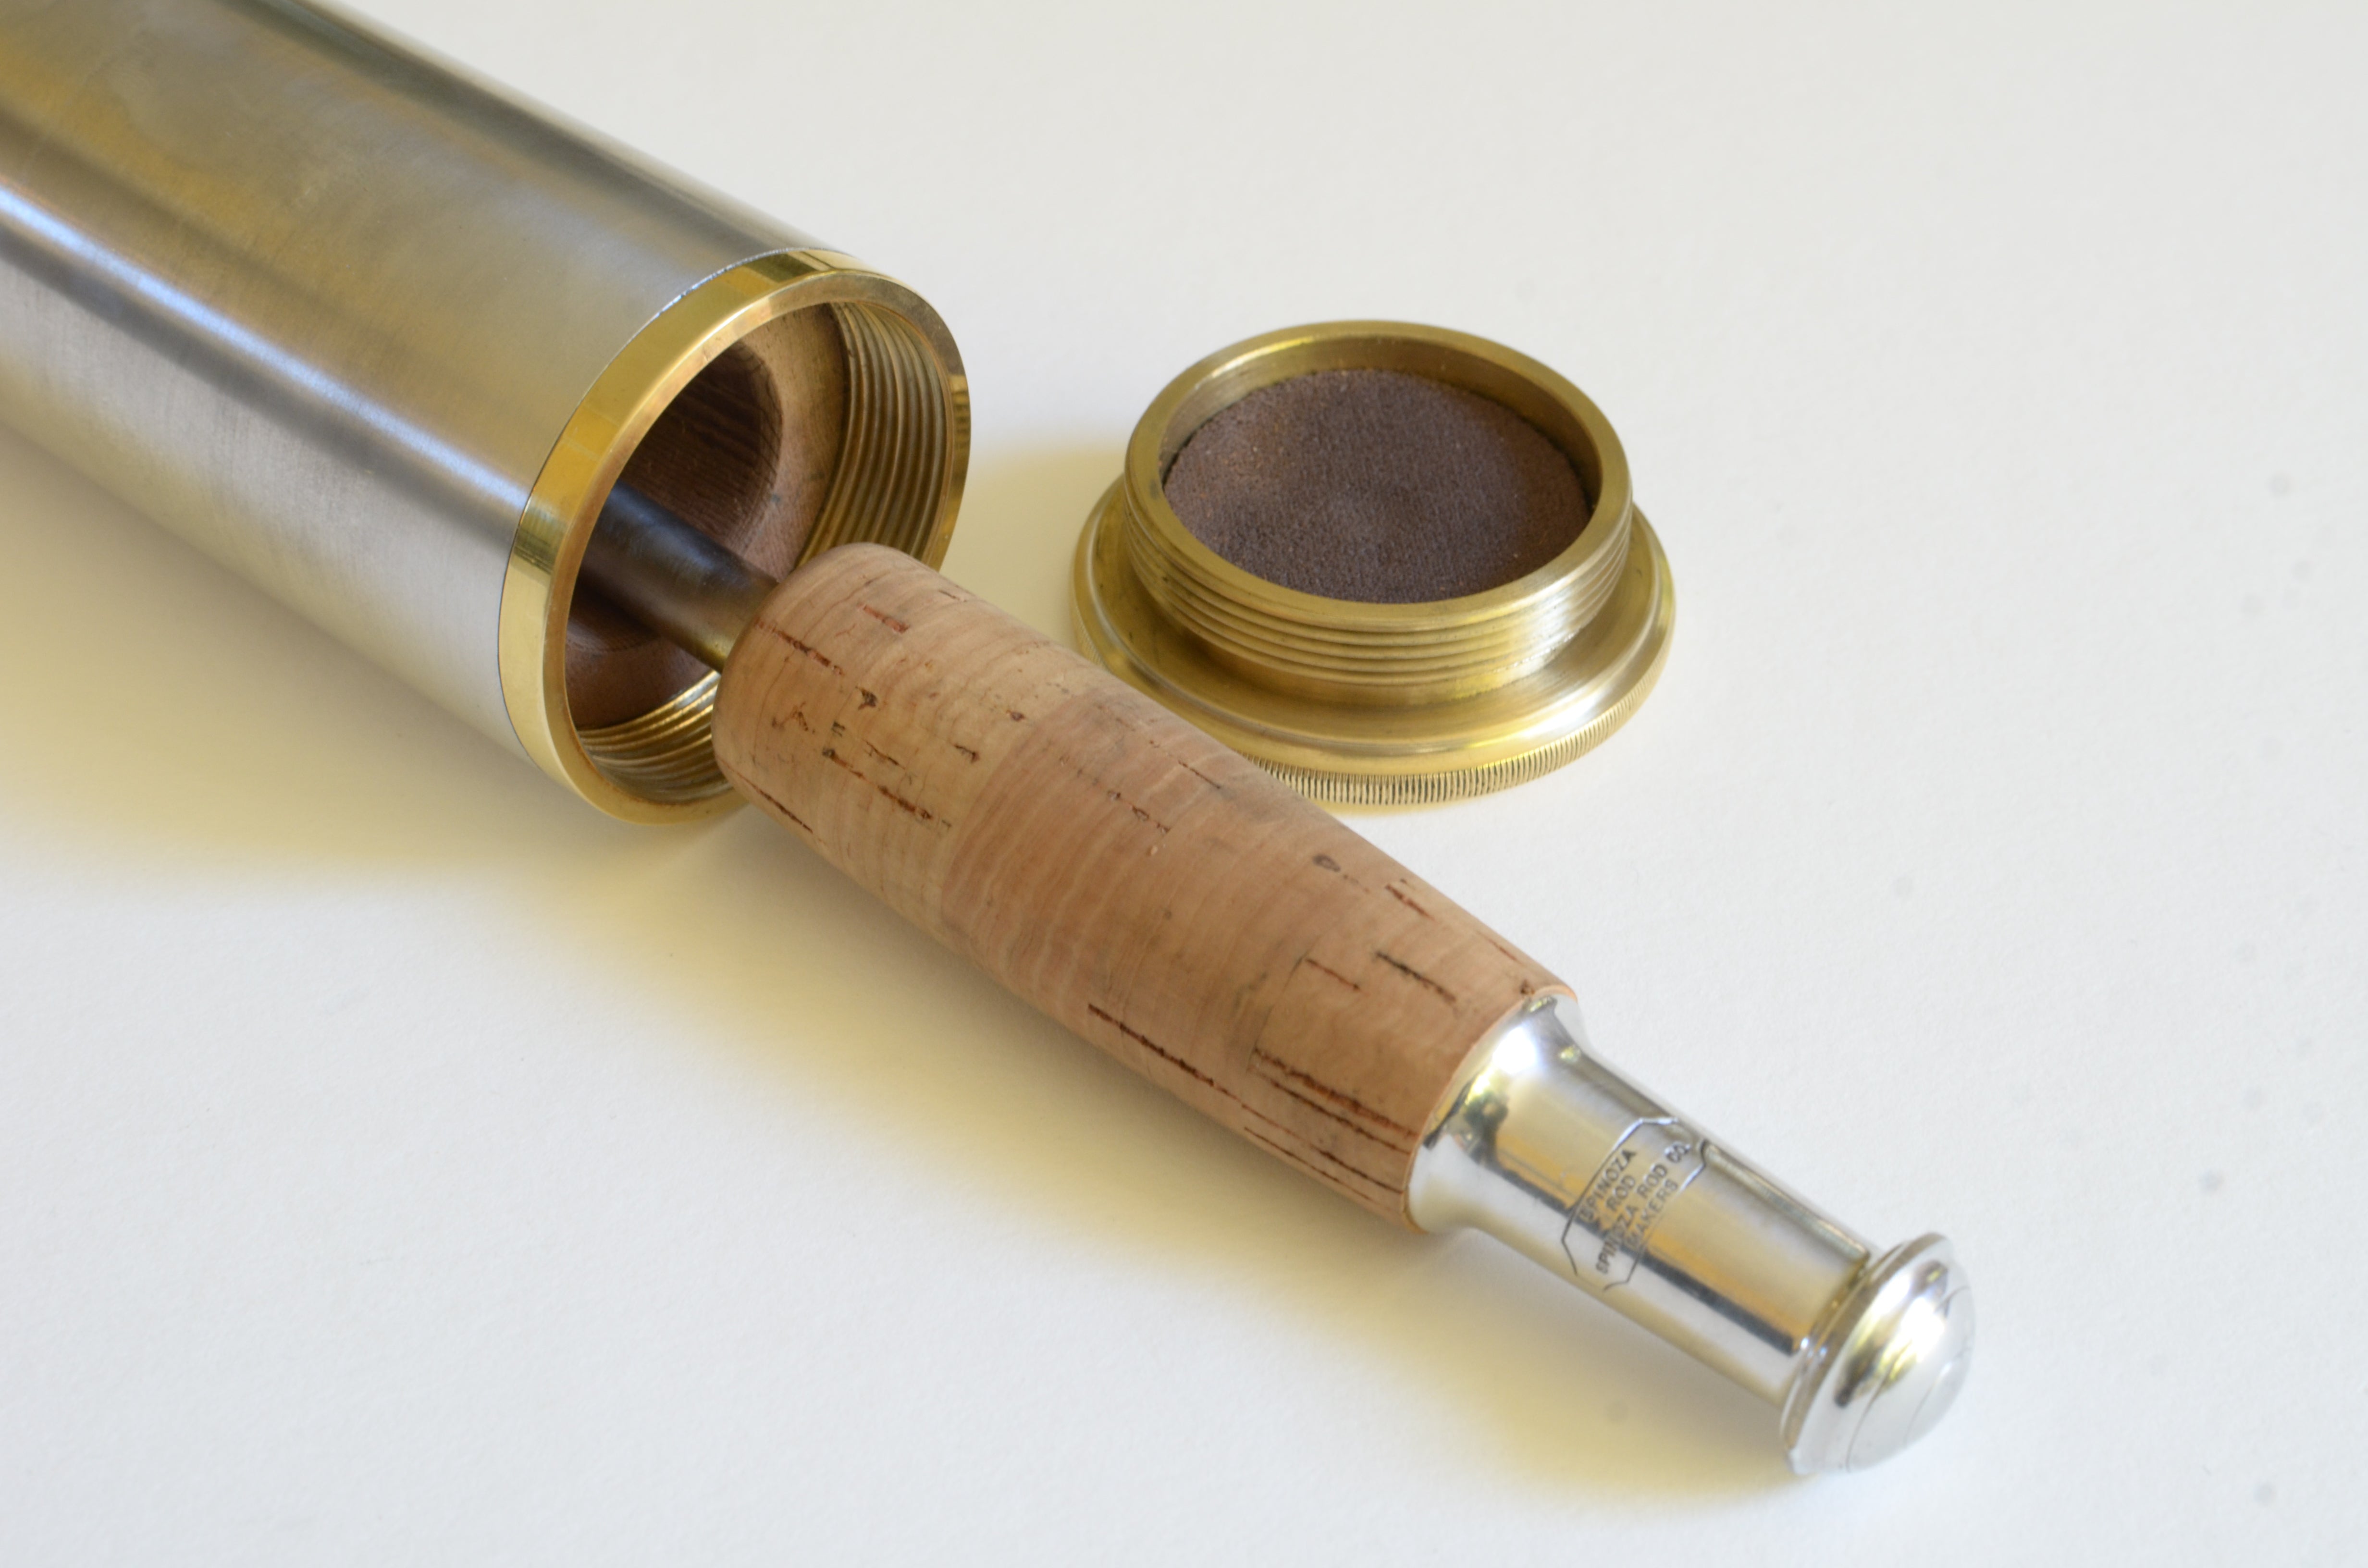
Below, you can see the piece of cedar next to the brass fixture for the top of the rod tube:
And lastly, I fit the cedar up into the bottom part of the rod tube and mounted the smaller brass fixture on it. Here is the finished product, along with a new fighting butt design I made some months ago:
What do you think?
-Marc
Comments will be approved before showing up.


Stu Hayden
December 17, 2016
Wow! Marc! What an intellectual beautiful design. Your years of salmon fishing experience created the ultimate salmon tube with superior function for its intended use. I can’t wait to get my salmon rod!
Stu